Enscribe at EthCC [9]
· 2 min read

![Enscribe at EthCC [9] cover image](/assets/images/cover-2328ae5351f8702945807aefef4c78e8.png)
The Enscribe team was at the latest edition of EthCC, and we had a talk on the agenda: Smart contract identity for orgs and agents.
The Enscribe team was at the latest edition of EthCC, and we had a talk on the agenda: Smart contract identity for orgs and agents.

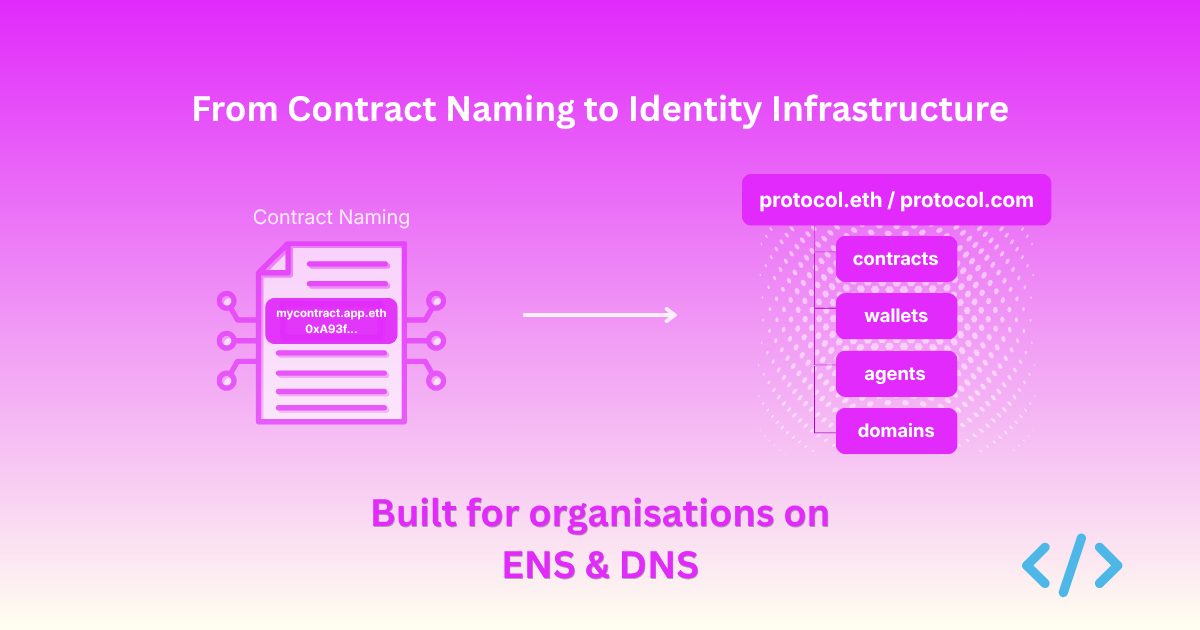
Over the past year, we have spent a lot of time working on onchain naming. We ran ENS Contract Naming Season, worked with teams such as Nouns DAO, Liquity, Cork, and Giveth, built a Safe integration, shipped a Foundry plugin, and watched thousands of contracts move from anonymous hexadecimal addresses to human-readable names.
That work changed how we think about both Enscribe and ENS.

Enscribe now has a YouTube channel with short tutorials, walkthroughs, and community call recordings that show how smart contract naming works in practice.
You can find it here: https://www.youtube.com/@enscribexyz
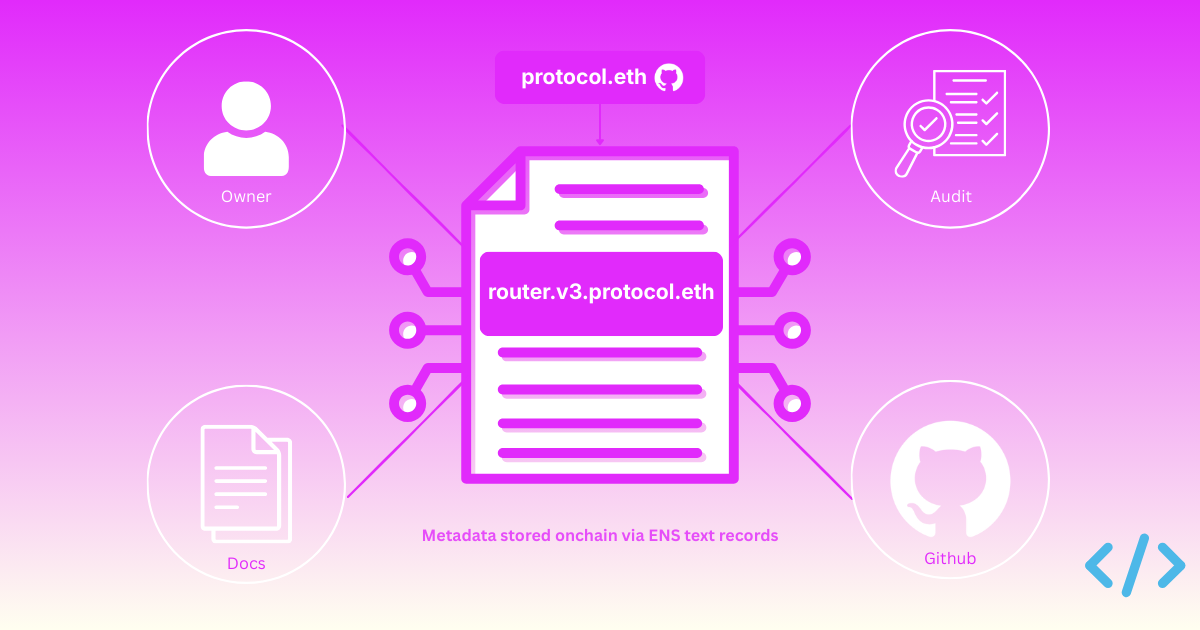
Smart contracts are the backbone of onchain applications, but discovering information about them has always been fragmented. Contract metadata lives across multiple platforms — documentation on one site, audits on another like github, social links scattered everywhere. Basic information like "what does this contract actually do?" is often nowhere to be found.
Enscribe brings contract metadata onchain through ENS text records.
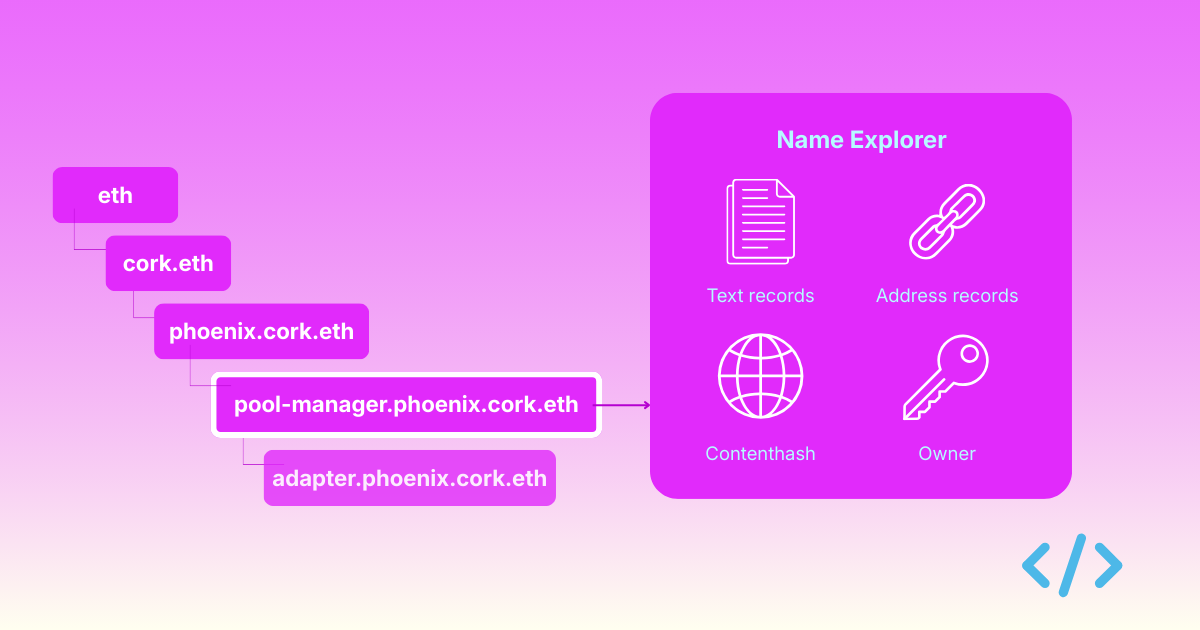
ENS names form a hierarchical namespace, where names can have parents and children, each with their own metadata and ownership. But exploring this structure and the metadata attached to names has always been really hard and un-intuitive.
Thats why we added Name Explorer to Enscribe — a dedicated interface for navigating ENS name hierarchies, viewing metadata, and managing text records all in one place.