Sign in with Ethereum and self-managed naming

Nischal Sharma
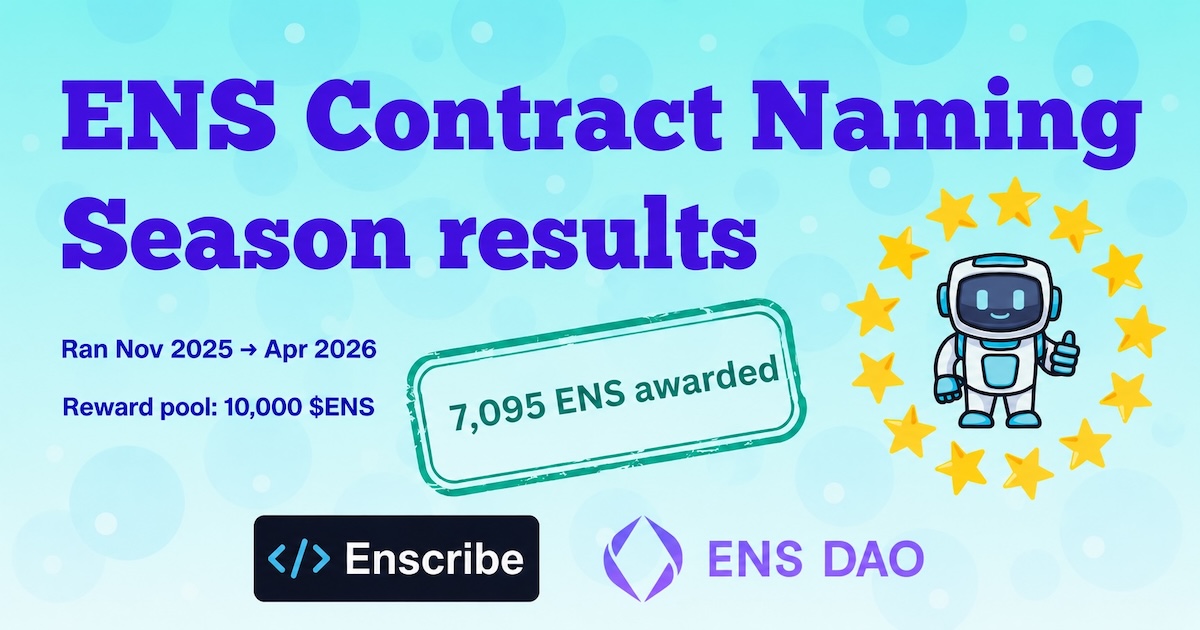
Reflections on ENS Contract Naming Season

Conor Svensson
Kleros joins Contract Naming Season
Conor Svensson
Superfluid joins Contract Naming Season
Conor Svensson
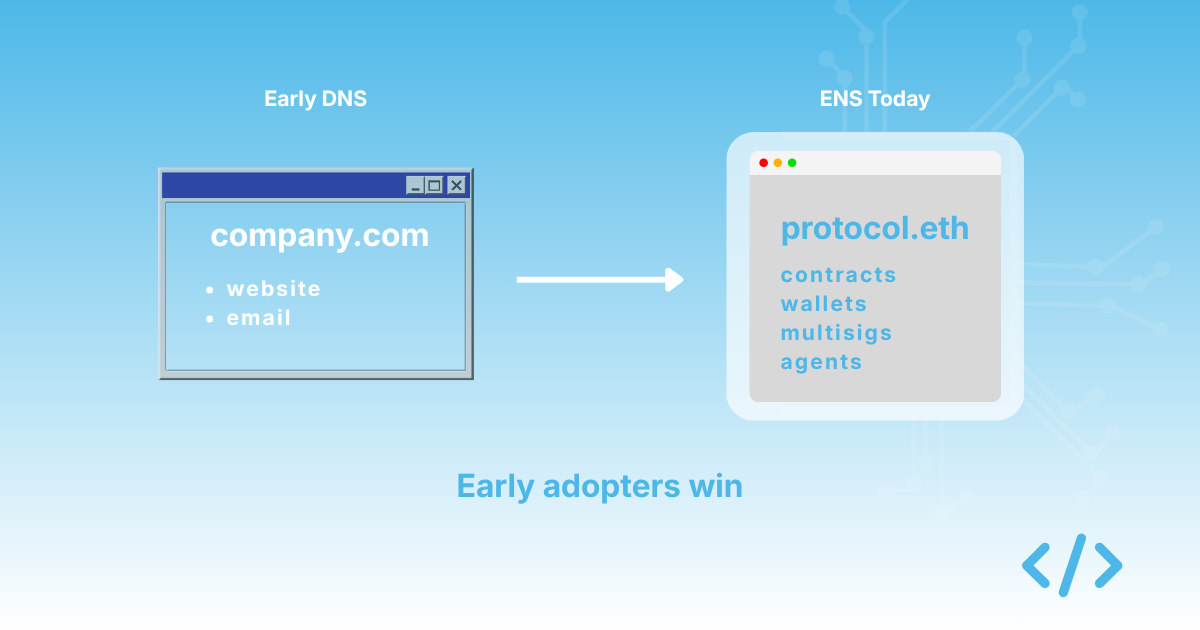
Why ENS adoption looks like DNS adoption did in 1995
Conor Svensson
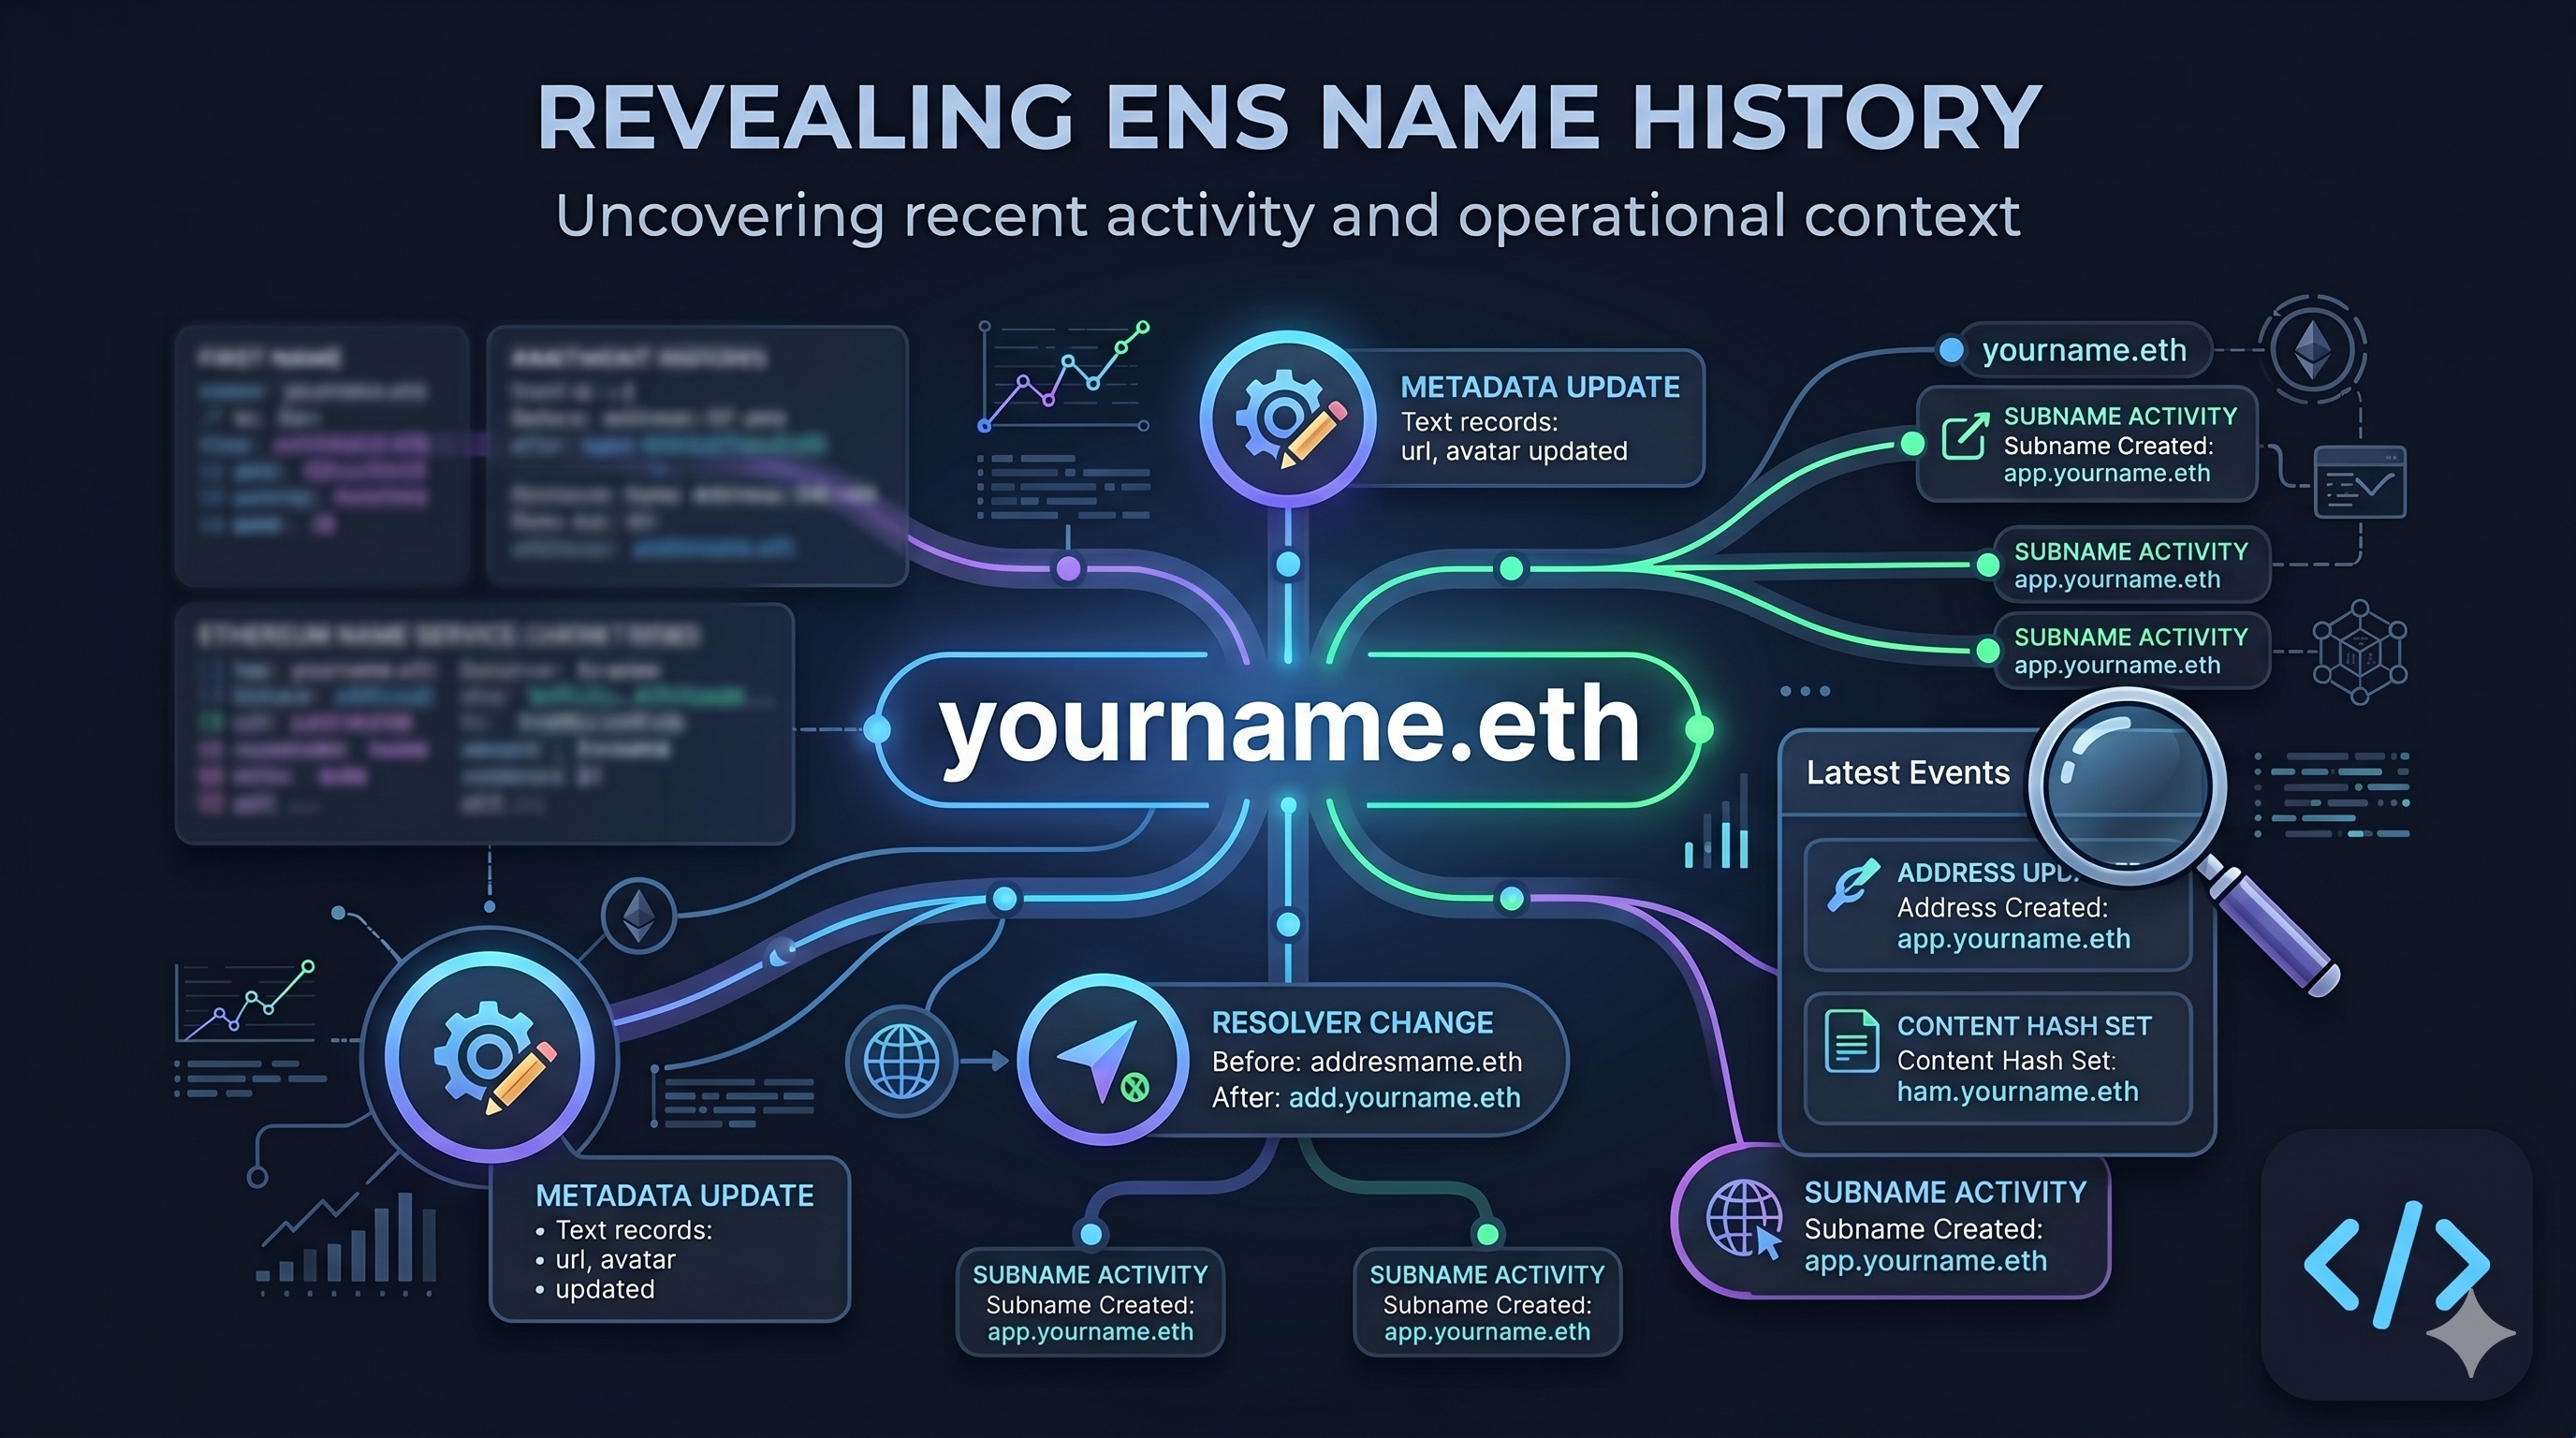
Name History for ENS names

Abhijeet Bhagat
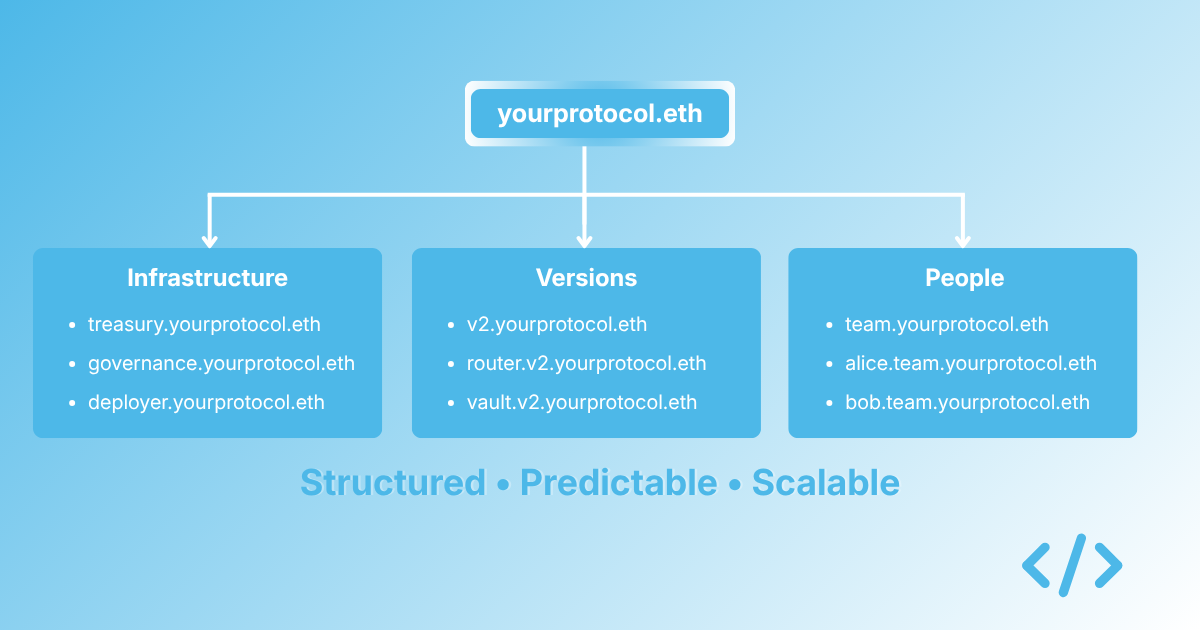
How to design an onchain namespace — lessons from 30 years of DNS
Conor Svensson
SSV Network joins Contract Naming Season
Conor Svensson
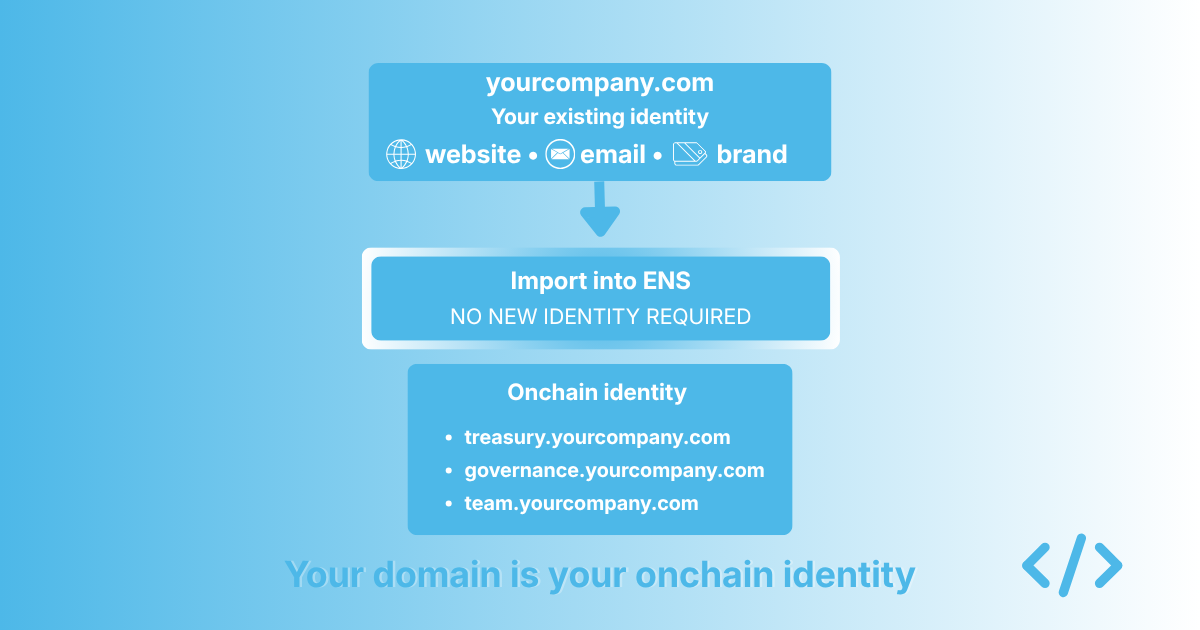
Why your DNS domain is the easiest way into ENS
Conor Svensson